
This installation instructions will show you how to install our Android navigation for Mercedes E Class W212, upgrade the original small screen to 10.25” big touch screen.
Product link: 10.25” MBUX UI Android 8.1 GPS Navigation System for Mercedes E Class W212

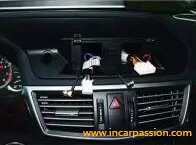
1, Original screen

2, Pry out original screen frame
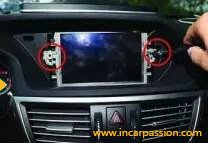
3, Remove the screen screws

4, Pry out the buckle of the air vent panel
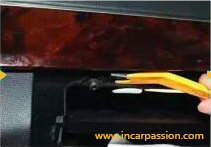
5, Pry out the buckle of the air vent panel

6, Use a small tool to move the air vent buckle to middle position

7, Use a small tool to move the air vent buckle to middle position

8, Pry out original air vent panel
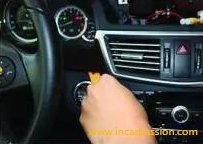
9, Pry out original air vent panel
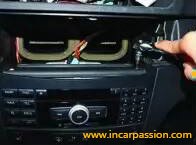
10, Loose the CD player screws

11, Loose the CD player screws take out the CD player
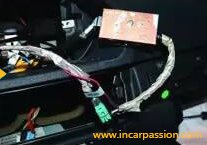
12, Connect our LVDS cable to original LVDS, red power cable connect to our ACC out
13, Install our bracket, fix the screws

14, Install our screen